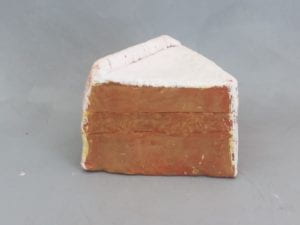
Pinch pot

to use at home

idiom

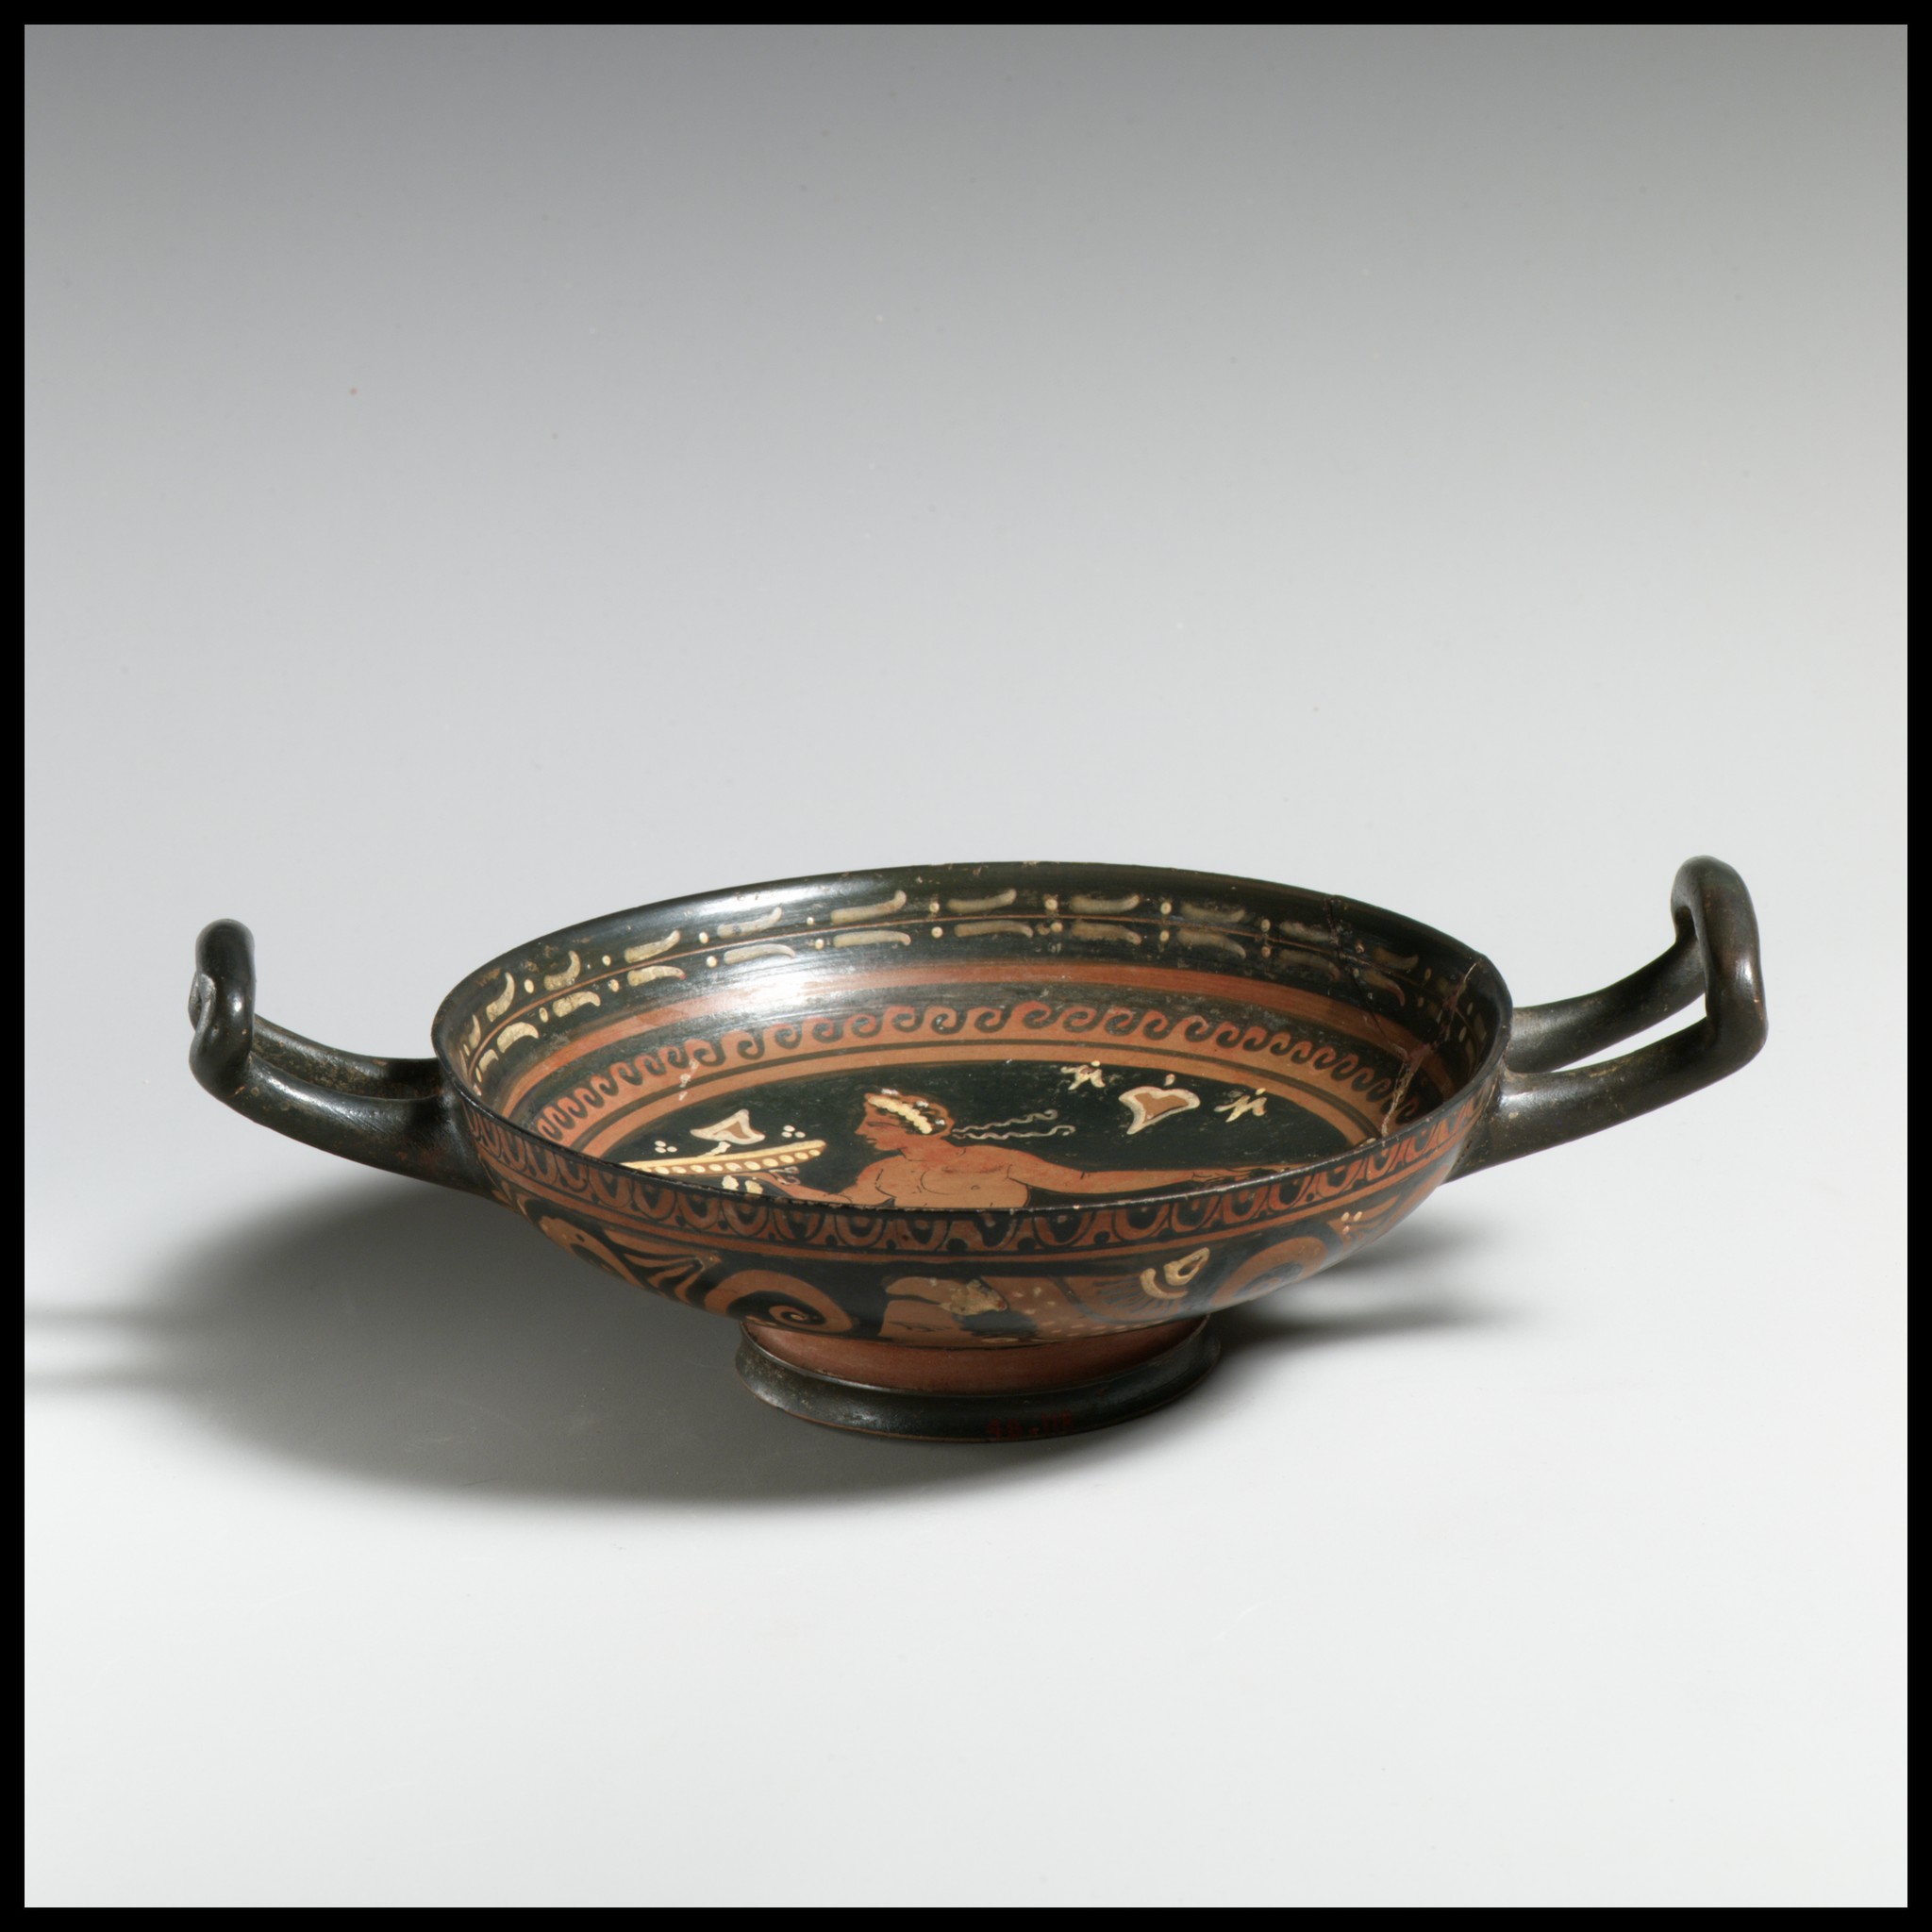
Coil bowl

Soap dish

Pinch pot

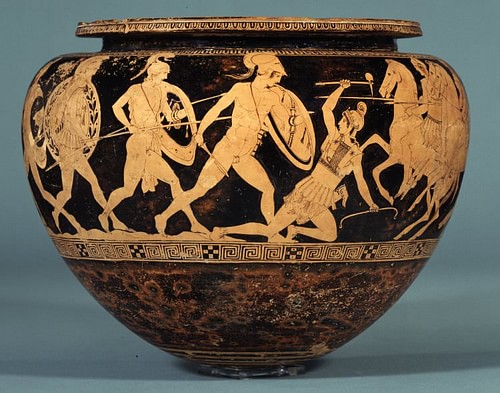
vase
To start with my first ever pot that i brought home was my pinch pot which i had originally thought was a master piece. Slowly as my skill in making pots increased i realized that my pinch but was way to small, thick, and just overall a bad glazing job. Compared to my mug my pottery skills have gotten way better since the begging of the year. Such as making pots and mugs in different ways and being able to make other things that aren’t pots or cups. My soap dish was the first time i used slab building and it didn’t turn out to bad but as i progressed and practiced more i got better and i was able to make cylindrical and squared shapes. My first and only coil bowl was probably one of my better pots because it had an even thickness all through out but it was slightly to thick.
If i could completely redo a project it probably would be my vase because i didn’t do it cause i had to work on other things. Also because I loved the look and outcome of all the vases that were made. And i wanted to glaze something that big because i wanted to use a splatter effect.